

A photo and the story behind it.
TEXT AND PHOTO Axel Reese
Four hours of foil testing –
“Klaas, you’re crazy!”
“Surf, screw, surf, screw, surf, screw…”
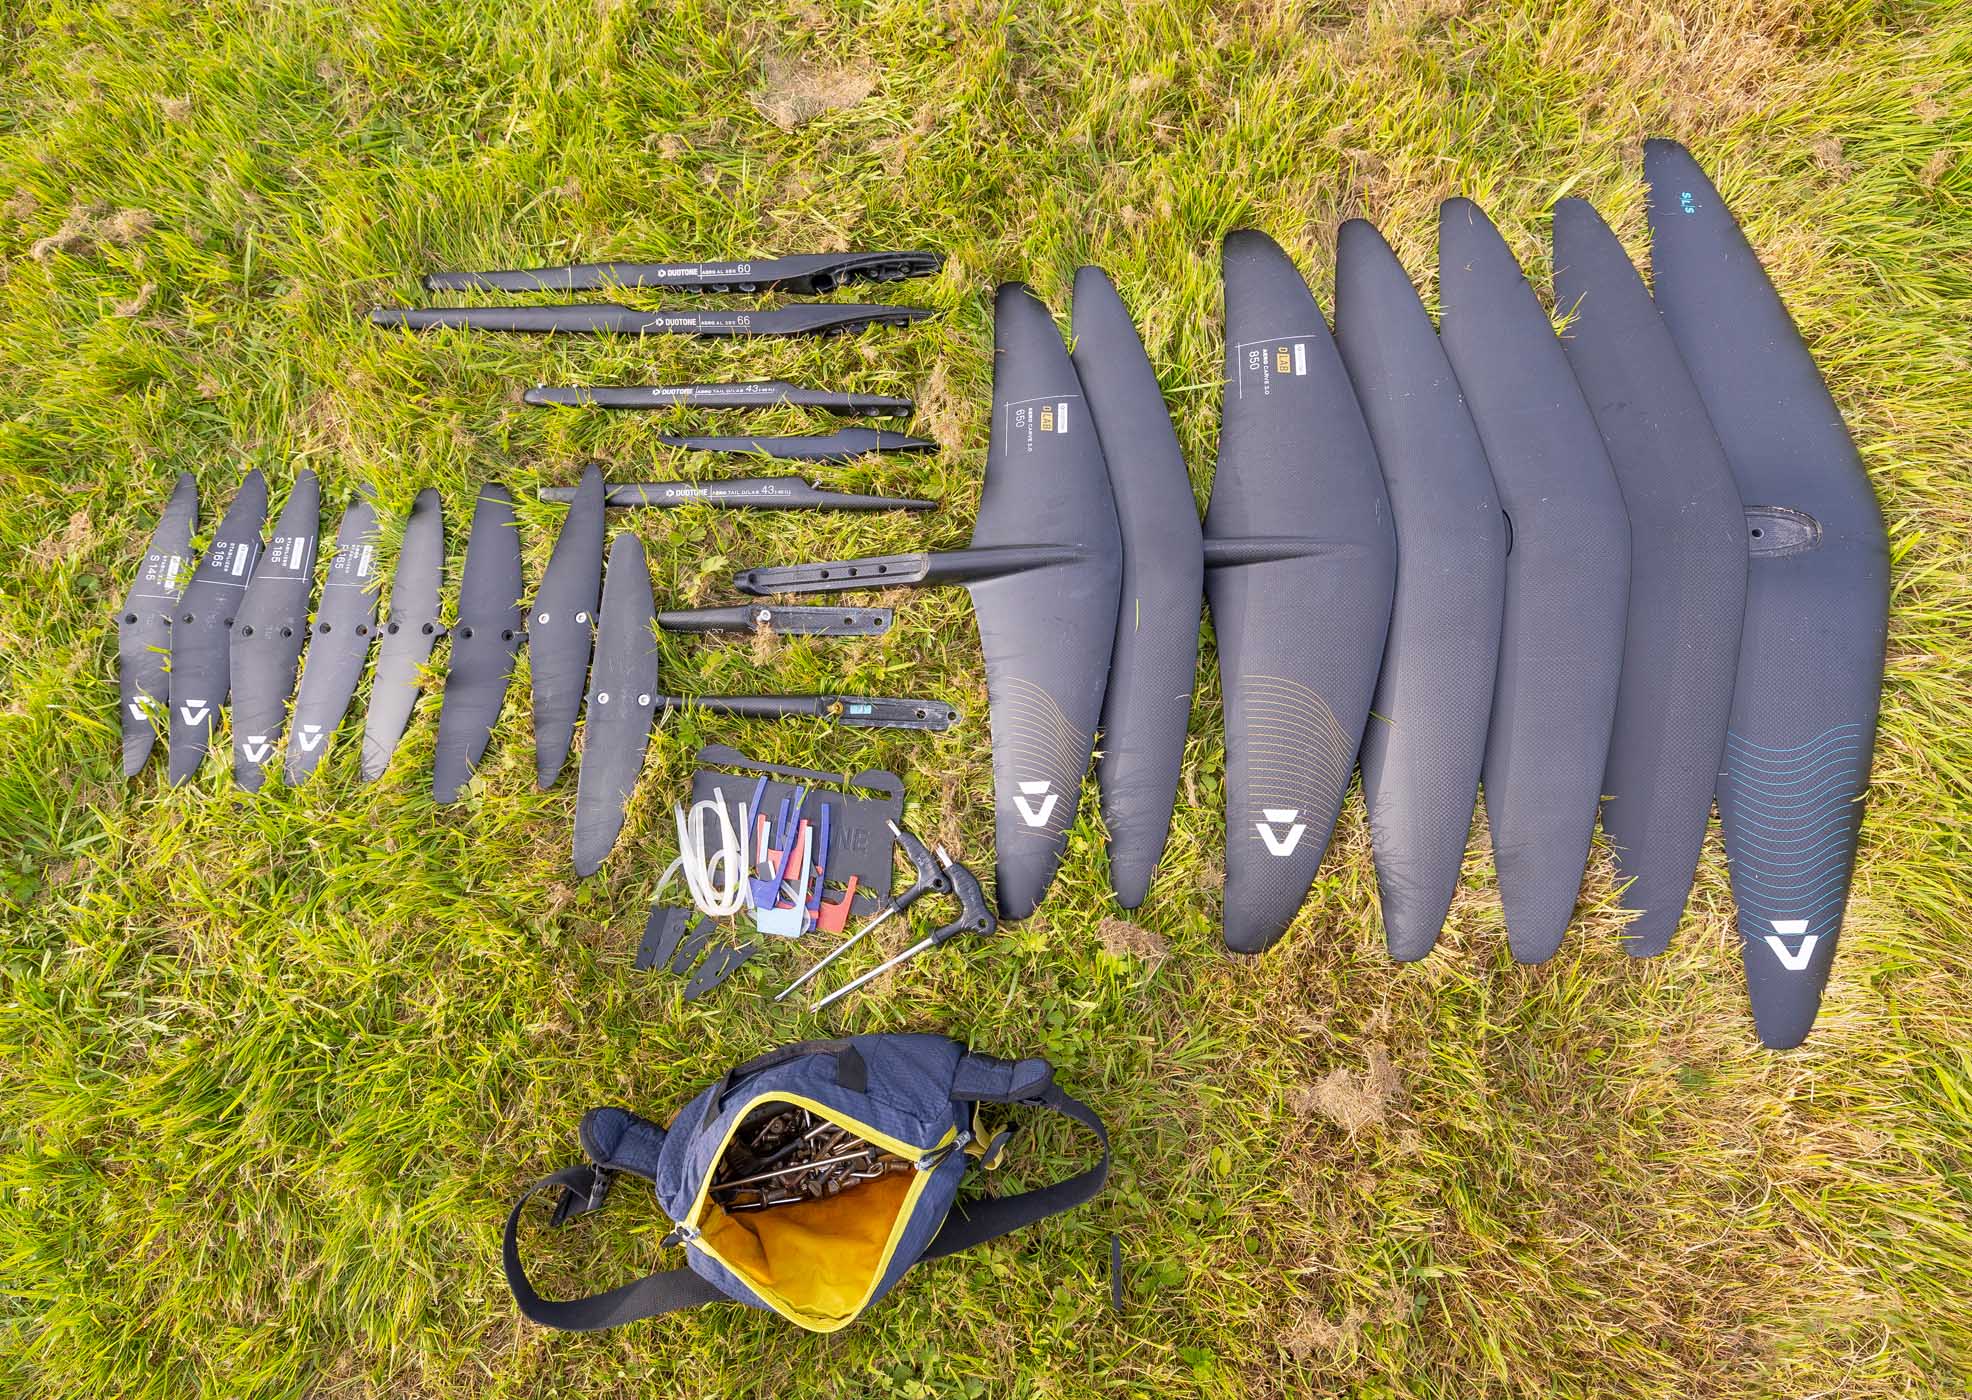
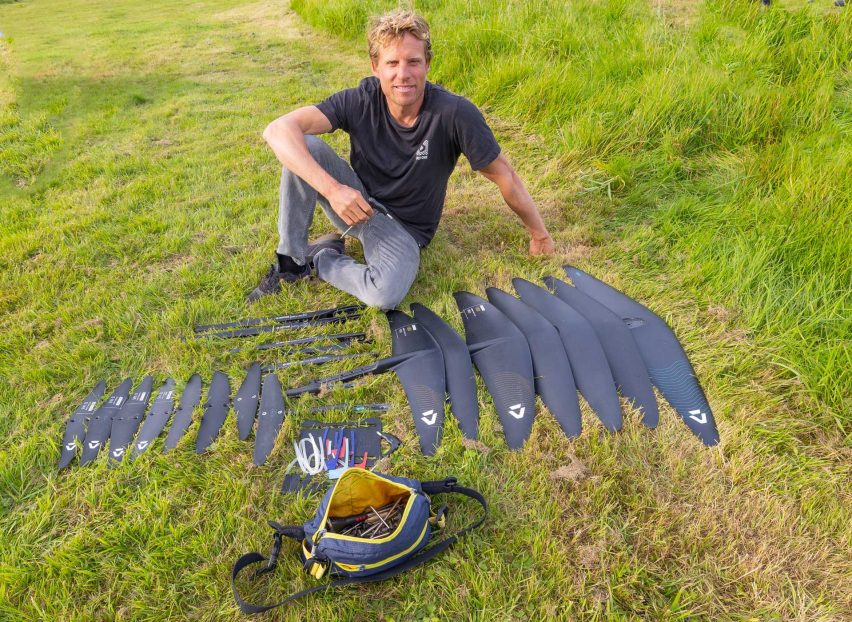
“Klaas, you’re crazy!” Duotone Team Rider Henning Nockel says succinctly and dryly to his boss, Klaas Voget, Division Manager for Duotone Wing and Foiling. Klaas has just tested around 15-20 constellations of different front and rear wings, fuselages, thicknesses and spacing between the respective wings and the mast, and so on, in single-digit air and water temperatures in his home waters of Kiel Bay, Germany, returning to land every few minutes to make some adjustments before returning to the water. We stood next to him and asked him about it.
Klaas, what did you test in four hours?
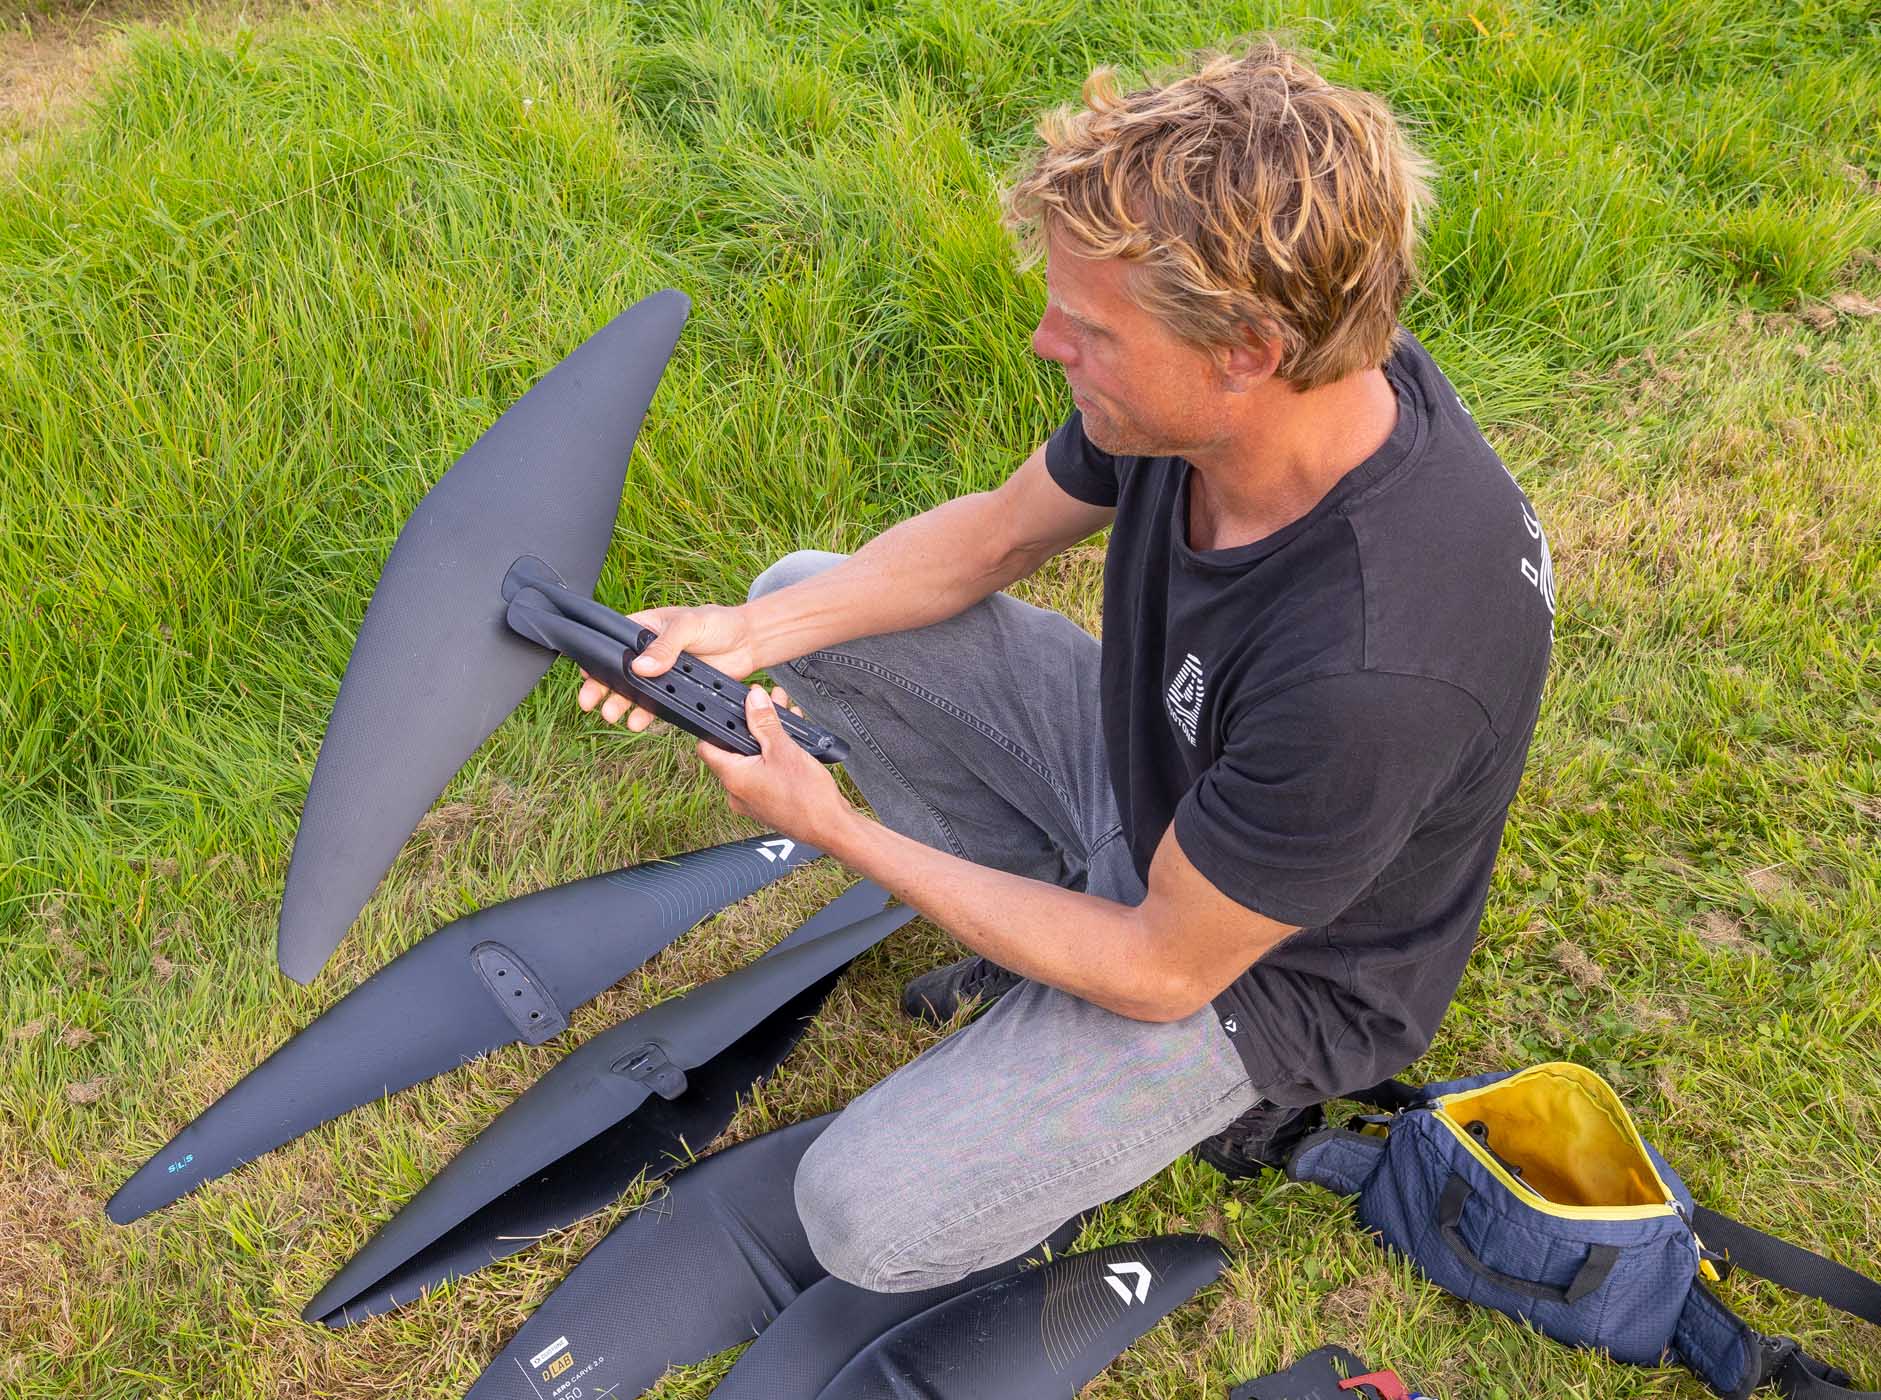
If you want to do a good test, you have to compare two things under the same conditions, that is, test them directly one after the other on the same day. You can’t test this one day and that the other day. If I want to get a really good result, for example, three new front wing prototypes in a single size that I have to compare with a current production model, that means I have four different setups in the same environment: my production foil, the way I like it best with, for example, a short fuselage and a certain stabilizer. I set up all three new prototypes the same way, so they are exactly comparable. I used each setup for about 10 minutes, that is, the proven standard foil, then the Proto 1 with the same settings and the same mast position. At that point, could I note whether the lift point is the same as the standard wing or should it be in a different position on the new wing? Then I’ll know, then I can change the mast by a centimeter and only then will I have a proper test. Then the next prototype for about five to ten minutes, then the third prototype for about five to ten minutes. Then again, and maybe I liked prototypes 1 and 3 better, while prototype 2 not so much.
In the next step, I compare the favorites and maybe I’ve found my favorite and therefore, with these standard settings, my winner. Then I might set up one or the other prototype again with different settings or with a different rear wing. This means riding, screwing, riding, screwing, riding, screwing…
This is the only way to achieve a result with the same wind strength and the same wave conditions, which is only a flatwater test in the bay of my hometown of Kiel. But if I have to test the sails of the Carve series, for example, the sail must work both in freestyle and in the waves, and that’s why I go to the waves afterwards. I redo everything there. In other words, I might like things in flat water, but I look for different qualities in waves. If our client has a Carve 800 or 1100, they also want their foil to perform well in the widest possible range of conditions.
It’s hard work and no longer relaxing, right?
Yes, it’s a lot of work and a lot of twisting, which sometimes has to be done with gloves on at five-degree air and water temperatures.
So, away from the videos of lots of sun and turquoise water, let’s change the subject: how does it record its results?
If I have a result of four setups for three or four settings, I can’t remember everything. After the tests, I enter the results directly into my phone, because it gives me an overview and allows me to check if I’ve tested everything. And I pass these results on to our R&D team, including our foil designer in Mauritius, who also tests the same sails in the lagoon and in wave conditions.
How many settings are there in four hours?
About 15-20 different settings. It takes five minutes to get in and out and change the screws. It takes five to ten minutes to test in the water.
Your test setup also includes front wing shims. However, these are not included in the sets you can buy in stores.
We ship the SLS front wings without shims, but for testing I have an option that might work better with 0.2/0.3 degrees. This is a test-only option, as the next production product will be delivered perfectly trimmed.
On the other hand, backwing adjustment with shims is also a good option for customers, but we don’t want to confuse them with too many adjustment options. For 90% of ailerons, adjustment without shims is perfect, but for very light or heavy ailerons, a higher or lower backwing angle can be helpful. We provide two shims, 0.3° and 0.6°. By stacking them, you have all the adjustment options up to +/- 0.9°.